
How to pick your first kite spot?
“Side onshore wind, flat shallow water, no obstacles in your landing zone. If all three check out, you are good to pump your kite. If even one is off, come back another day.”
You just finished your kitesurfing lessons. Your instructor finally signed you off and you have all your shiny new gear sitting in the trunk of your car. You feel like an absolute rockstar ready to conquer the ocean. But then you drive to the coast, look out at the water, and suddenly panic sets in. Where exactly are you supposed to set up your equipment?
When you were taking lessons your instructor handled absolutely everything for you. They checked the weather forecast, they picked the safest beach, they set up the lines, and they watched your back while you swallowed half the ocean. Now you are entirely on your own.
Picking your very first independent kitesurfing spot is a massive decision that can either lead to an amazing progression session or a terrifying fight for survival. You cannot just rock up to any random beach, pump your kite, and hope for the best. Choosing a spot requires a strict safety bias and a logical checklist of parameters to ensure you do not end up in the local news. You need to assess the wind forecast, the water conditions, the physical hazards, and the local crowd before you even think about unwinding your lines.
What wind direction is safe for beginner kitesurfers?
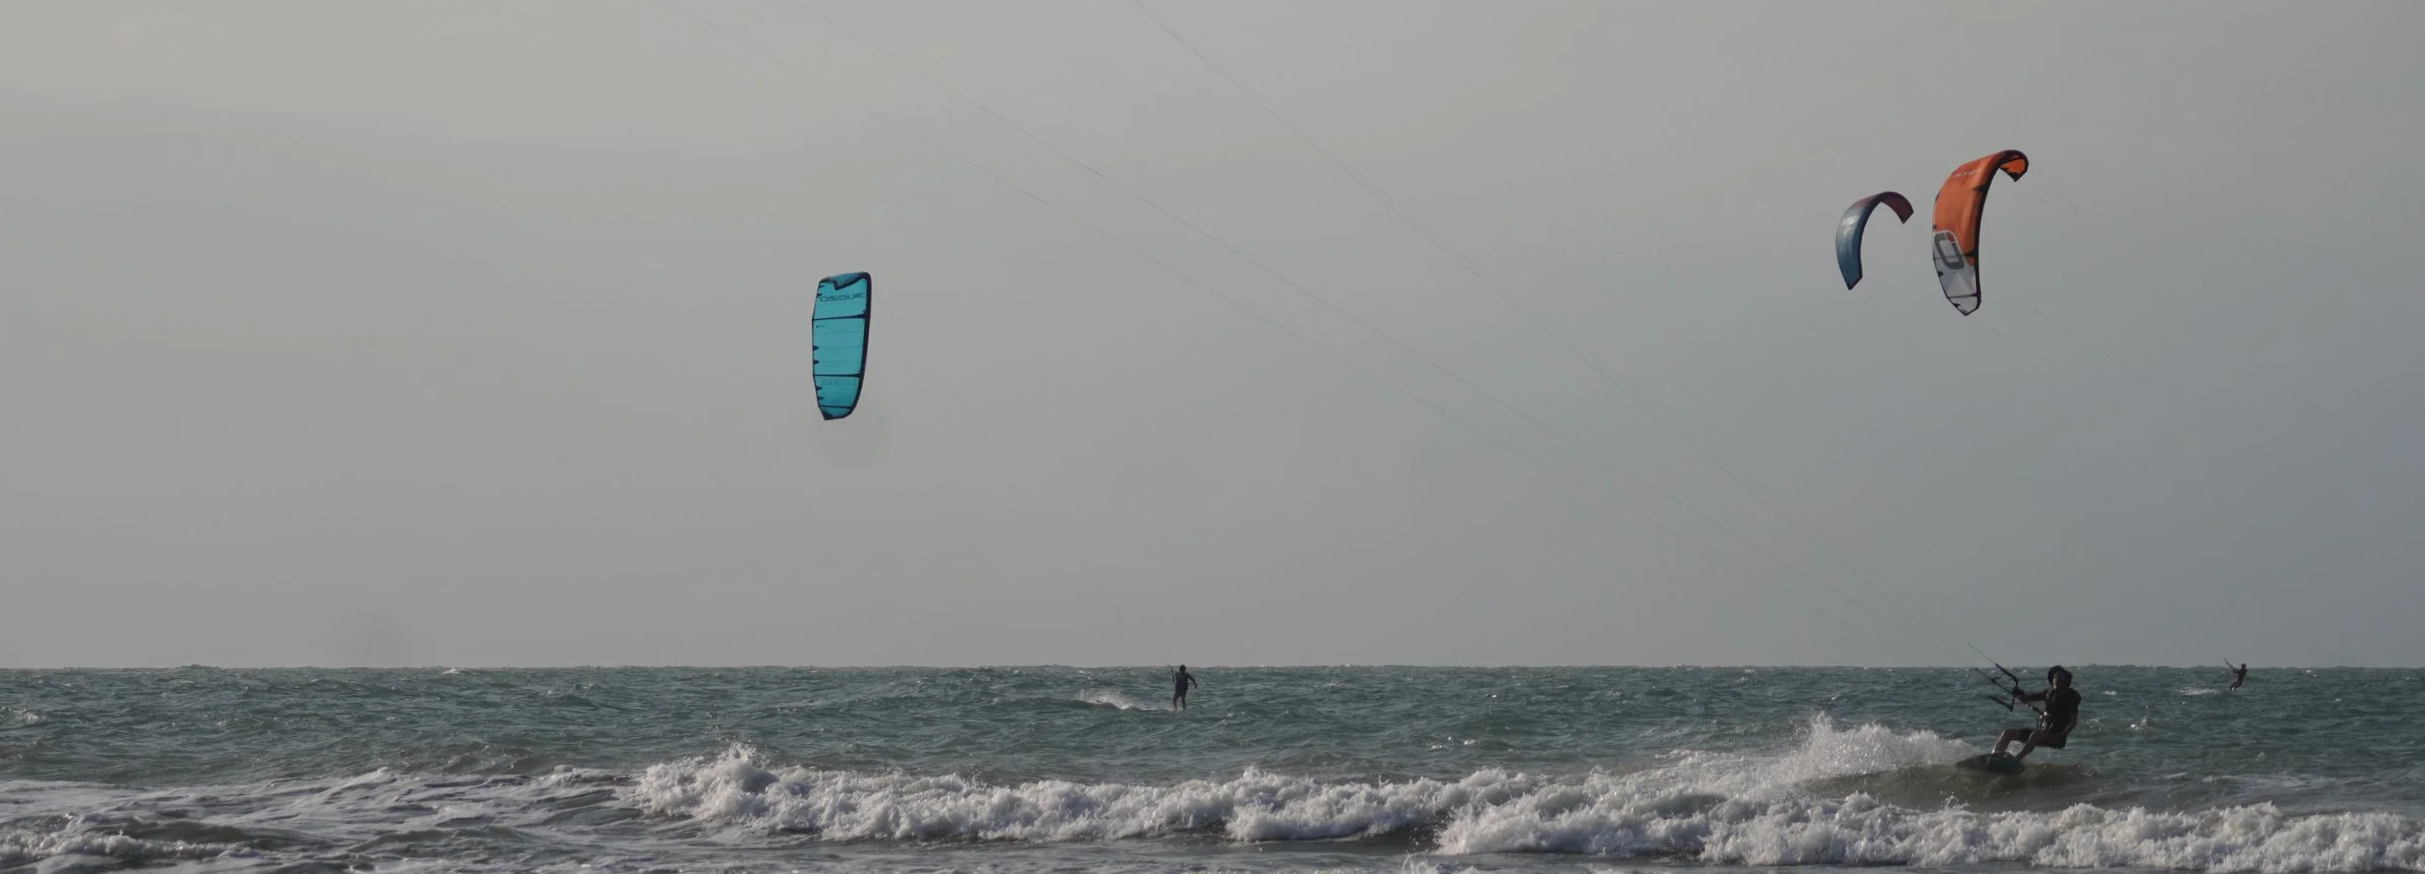
The absolute most critical factor in choosing a spot is the wind direction relative to the shoreline. If the wind is blowing offshore, meaning it blows from the land out towards the open sea, you must immediately pack up your car and go home. Riding in offshore wind as a beginner is a guaranteed one way ticket to the middle of the ocean. You will eventually drop your kite, get dragged out to sea, and require a very expensive boat rescue.
On the flip side, pure onshore wind blows directly from the water onto the beach. This is also terrible for beginners because any small steering mistake will drag you violently onto the sand, the trees, or the nearby parking lot.
The absolute golden ticket for your first sessions is side onshore wind. This magical direction blows diagonally towards the coastline. It allows you to ride parallel to the beach safely and guarantees that the wind will naturally push you back to the shore if you crash and lose your board completely.
Offshore wind: do not launch. No exceptions.
Pure onshore wind: also a no. Any mistake sends you into the beach.
Side onshore wind: your target. Diagonal towards shore, safe margin if things go wrong.
You can use great weather platforms like Windy, Windfinder and Windguru to check the exact wind angles and predicted gusts before you leave your house. Gusty conditions are a separate problem. Even perfect direction means nothing if the wind is jumping between 12 and 28 knots every few minutes, so read what gusts actually do to your session.
What should the water look like before you launch?
Once the wind direction checks out perfectly, you need to look very closely at the water itself. As a beginner trying to master board starts and basic transitions, you want the water to be as flat and shallow as humanly possible. Trying to learn in heavy ocean waves is an absolute nightmare that will destroy your confidence immediately. Waves will constantly crash over your head, knock you completely off balance, and make finding your lost board nearly impossible.
I did learn on the North Sea. Yes it took me a bit longer but it also has its positives. Now I can manage a lot of crazy water because I know what to do. Flat water from time to time is amazing but a chaotic North Sea? Love it.
A shallow flat water lagoon where you can stand up comfortably is the ultimate beginner paradise. Being able to stand gives you the crucial time to rest, breathe, and relaunch your kite without treading water exhaustively. However, you also must factor in the tides and currents if you are riding on the open coast. A strong ocean current moving in the same direction as the wind makes riding upwind incredibly difficult and frustrating.
Flat water: learn here first. Waves kill confidence before it has a chance to grow.
Shallow enough to stand: gives you breathing room to relaunch without panicking.
Check the current: a current running downwind will drain your legs in ten minutes.
If you want to understand exactly how the water moves, read the detailed post on what you should know about high and low tide to time your session perfectly. Knowing the rule of twelfths will absolutely save your legs.
What hazards should you check before you launch?
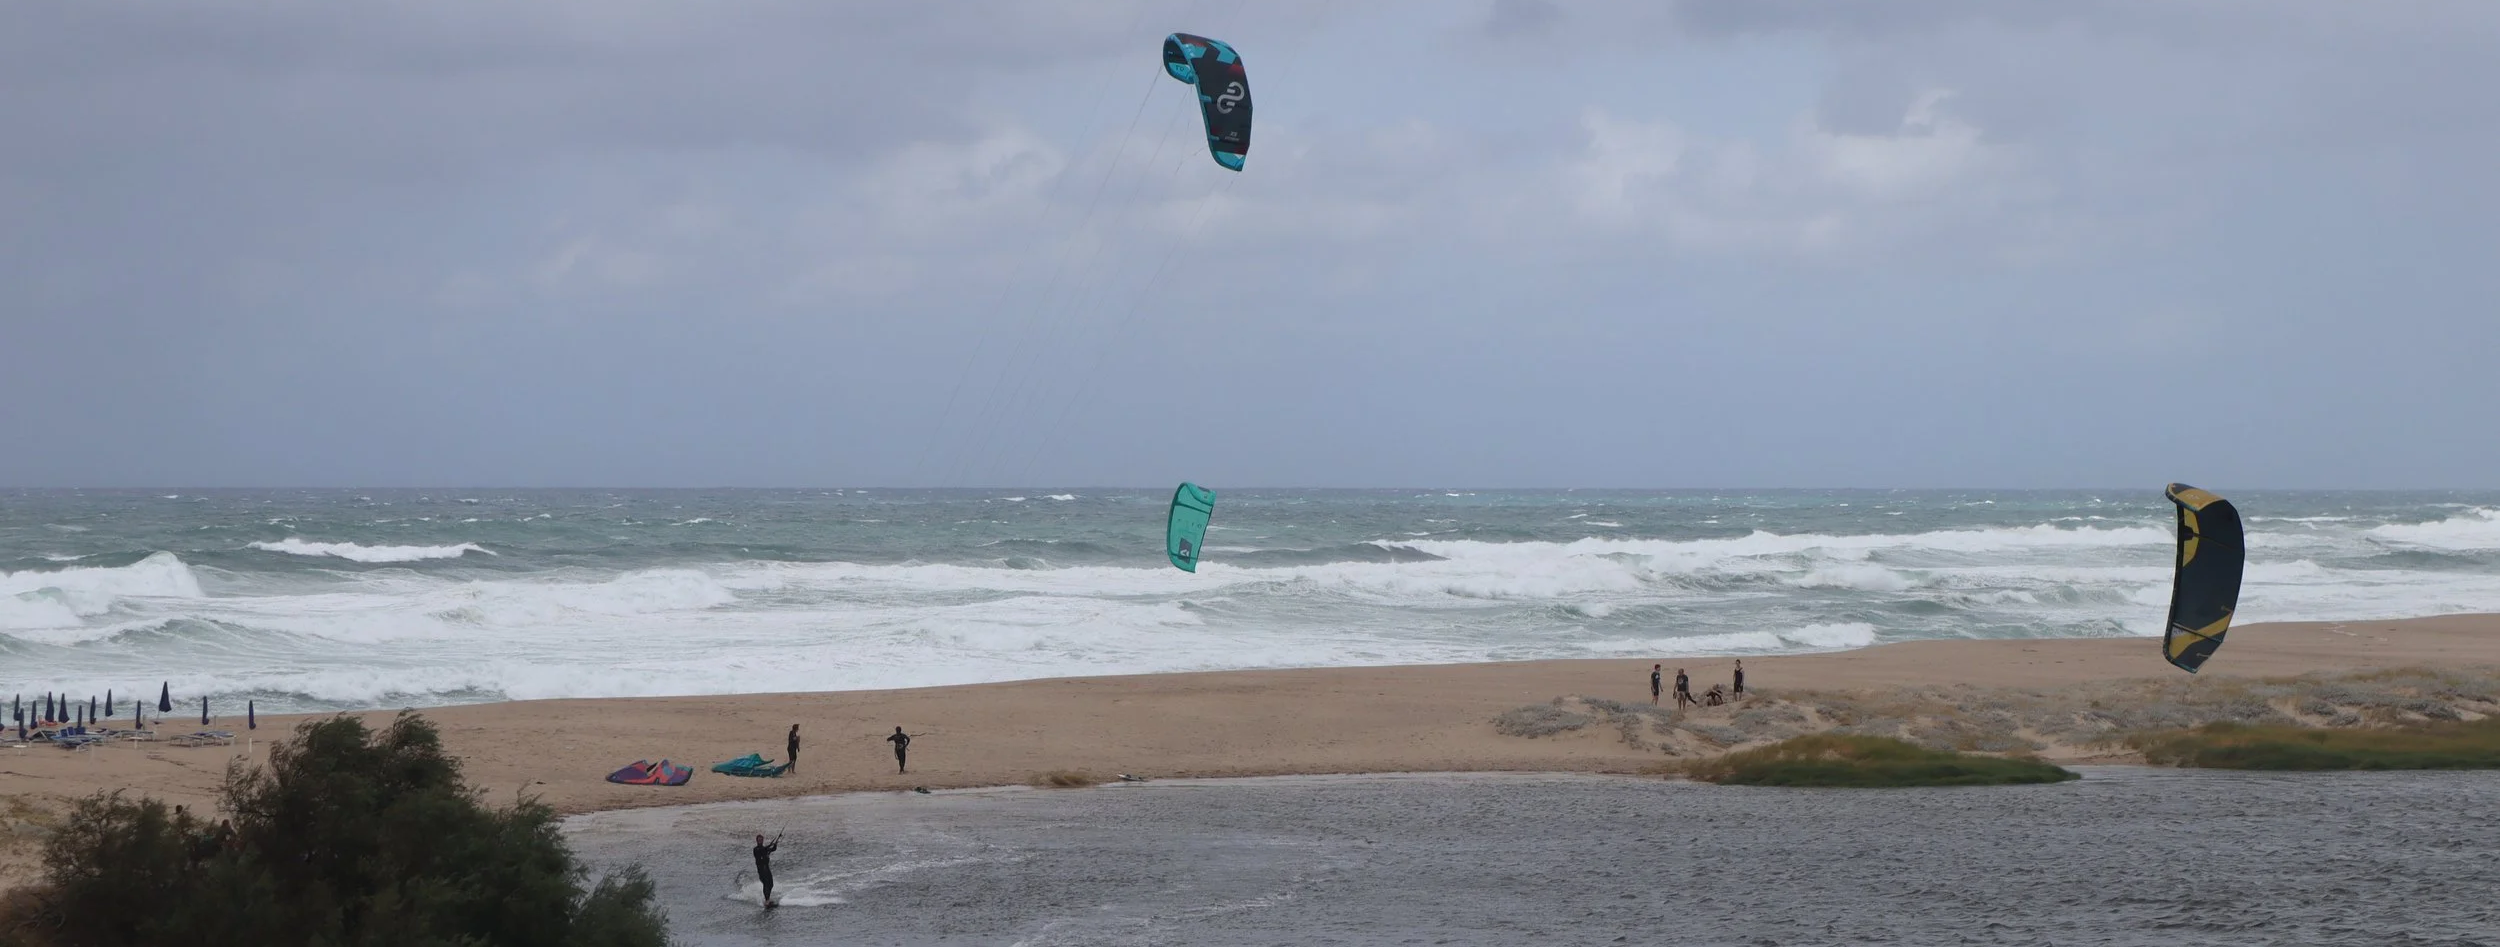
The local beach might look completely empty and inviting, but extreme danger often hides in plain sight. Before you grab your pump, you need to conduct a thorough visual sweep of the entire location. Look meticulously for hard obstacles both on the land and hidden in the water. Sharp rocks, wooden groynes, concrete piers, and shallow reefs are absolute session killers. You can fall on a rock you did not see and get a painful amount of stitches. Yes, I do know that from personal experience.
If you lose control of your kite near a hard obstacle, the resulting crash can destroy your canopy or send you straight to hospital. You also need to look up. Power lines, tall buildings, and large trees create massive wind shadows that will make your kite stall and fall out of the sky completely unexpectedly.
Walk the entire spot before you rig. Look for sharp shells hidden in the sand, check for designated kite zones and stay inside them, and do not launch near swimming families. Rigging your lines directly across a busy public walking path is also a terrible idea. If a random pedestrian trips over your tight lines, you are responsible for their injuries and the local guards will fine you.
What does the local crowd tell you about the conditions?
The people currently out on the water are the absolute best indicators of the actual riding conditions. If you arrive at a famous windy spot and there is absolutely nobody kiting, that is a massive screaming red flag. Locals usually know something you do not know at all. Maybe the wind is dropping rapidly, maybe there is a nasty hidden current, or maybe a massive storm front is approaching fast.
Conversely, if the spot is incredibly crowded with fifty kites tangled in the sky, that is also a terrible place for a new beginner. You simply do not have the steering precision yet to navigate a busy traffic jam without crashing into someone else.
You ideally want a spot with a handful of other friendly riders. Having a few people around means the conditions are safe and rideable, and there is someone available to help you launch or land your kite properly. Do not be afraid to walk up to the locals coming off the water and ask them how it feels out there. If a highly experienced rider looks completely exhausted and tells you the wind is brutally gusty, trust their honest assessment and head to the beach bar instead.
Is your gear actually ready for the spot?
You did all the work. You checked the wind direction, you assessed the water, you walked the hazards, you read the crowd. Do not undermine all of that by showing up with gear that is not matched to the conditions.
Match your kite size to the actual wind speed on the beach today, not the forecast you saw three hours ago. A common mistake is grabbing a tiny board because it looks cool. A tiny board requires massive kite power and perfect edging to ride. Set your ego aside and grab a large, wide freeride board. The extra surface area will help you plane earlier and glide smoothly over the chop.
On protection: wear an impact vest to protect your ribs from hard crashes. And a helmet. I wear one as an advanced rider and I will not apologise for it. Not just for your own mistakes, but for the mistakes the other kiters around you will make. The story of how kitesurfing safety gear has evolved is actually worth knowing before you buy anything: the evolution of kitesurfing safety gear.
Kite size: match to today's actual wind, not the forecast from this morning.
Board size: bigger than you think you need. Ego boards are for later.
Impact vest: always.
Helmet: strongly recommended, especially near new shorelines.
Quick release: check it actually works before you launch.
One last spot check
Picking your very first kitesurfing spot is a delicate balancing act of reading the weather patterns, knowing your physical limits, and assessing the local environment accurately. It is perfectly okay to drive all the way to the beach, look at the chaotic conditions, and decide not to pump up your kite today. The wind will always return another day, and your physical safety is infinitely more valuable than forcing a bad session just to prove a point.
When you finally find that perfect beach with steady side onshore wind, flat waist deep water, and a friendly local crew, you will progress faster than you ever imagined possible. Trust your gut feeling, follow your safety checklist diligently every single time, and go have some incredible fun out there.
Just remember that swallowing half the ocean is a mandatory part of the beginner experience.
xox Berito
Quick answers
-
Side onshore, blowing diagonally towards the shore. It keeps you riding parallel to the beach and pushes you back to land if you crash.
-
Not recommended. Waves knock you off balance, make relaunching harder, and will destroy your confidence fast. Find flat water first.
-
Check Windy or Windfinder for wind direction and gusts, look at tide tables if it is a tidal beach, and search for local kite groups for spot-specific hazard info.
-
Treat it as a red flag. Ask someone on the beach, check the forecast again, and look for an obvious reason. Locals do not stay off the water without a good reason.
-
Yes. Every experienced kitesurfer has driven to the beach and driven home without getting in the water. It is not weakness. It is judgment.